If you’ve been water cooling PC’s long enough, you’ve probably run into issues with your coolant at least once. Or perhaps you’re working on your first custom loop and you’re concerned about having problems with coolant. Either way, this blog will take you through each and every step you should take to have the best chance at avoiding any issues with the coolant in your water cooled rig.


Getting Started
First things first, if you’re putting new coolant in an existing loop that isn’t currently experiencing any issues with the coolant, you can skip this first section. If you’re building a new custom loop or are having problems with your coolant now, then keep on reading.
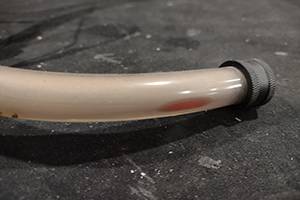
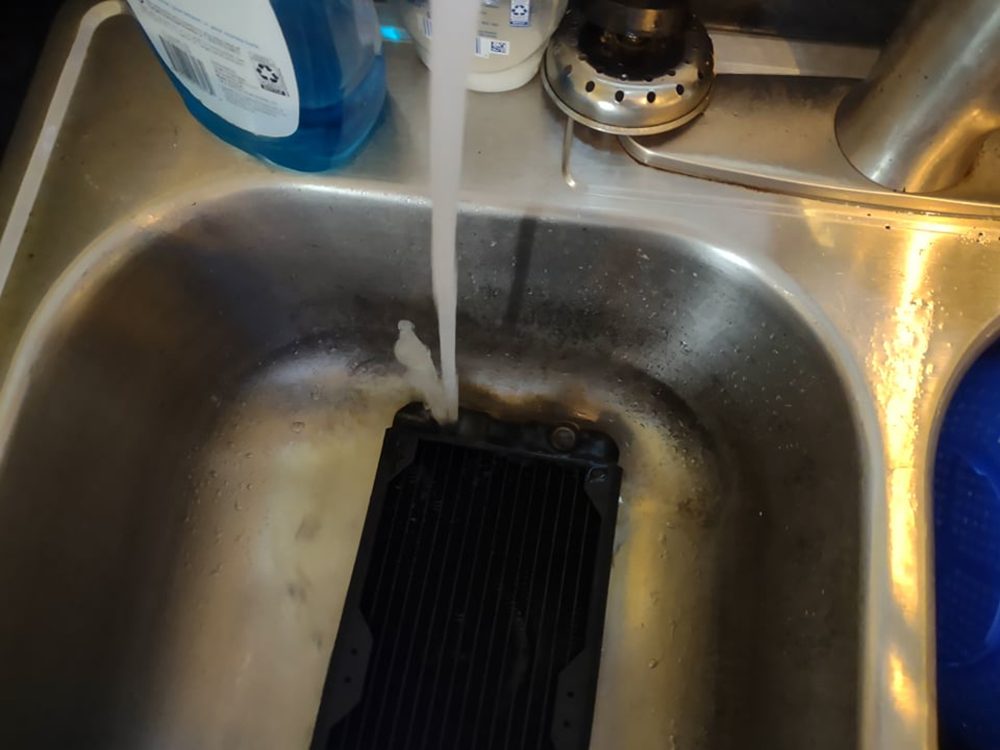
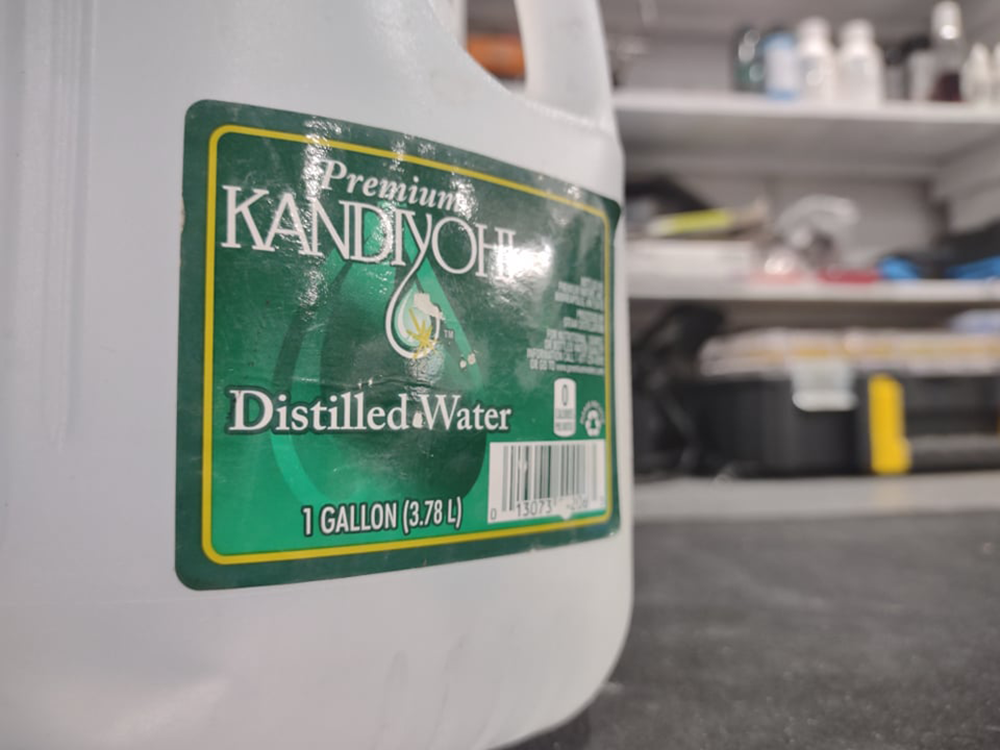
New radiators are going to be your biggest enemy to conquer. Depending on the brand and style of radiator this could be easier or more difficult. No matter what, you will want to thoroughly flush and rinse any radiators. If you’re currently having problems with either fallout, discoloration, clogging, etc in your loop then I would recommend following these same steps as well. There are several different solutions specifically designed for cleaning PC radiators, however these can sometimes void the warranty of your coolant if the manufacturer does not want you to use them. Be sure to check the labels on both your coolant and the cleaning solution if you are using one. The method I’ve found that works best for cleaning both new and used radiators will not void any warranties and should give you the best chance at getting all the flux and debris in the radiator completely flushed out. You will want to take your radiator and place it in a sink or wash basin with one of the ports directly below the running tap, all ports should be open. Leave the radiator with the tap water running through it for a good 15-30 minutes. Once the water running out the other port(s) is clean/clear, drain the radiator, followed up by 3-4 rinses with distilled water - fill completely, cover the ports and shake for 30-60 seconds, drain, repeat. Be sure to keep all the ports closed off if you aren’t going to immediately install the radiator back in the loop.
Carefully inspect your new blocks, fittings, pumps, reservoirs, and distros for any debris or fluids left behind from manufacturing, however, they should only require a few rinses with distilled water. If they appear to have quite a bit of debris from production or have been used it may be best to completely disassemble the blocks, pumps, reservoirs and distros, then use a soft toothbrush and a very light dish soap and water solution to scrub them clean. After a thorough brushing be sure to rinse everything with some distilled water. The same can be done with your fittings.
The Final Flush
Once you’ve either completed the previous steps, or skipped them, assemble your loop entirely. Fill it with distilled water and let it run for 30 minutes - 1 hour. Drain as much of the water as you possibly can without disassembling the loop, then refill with distilled and repeat. I typically recommend using 1 - 2 gallons of distilled water, especially if you had a particularly dirty loop prior to starting this process. Try to remember to test the pH of the water being drained from your loop periodically as well. If the pH isn’t 6-7, keep flushing. At the end of the day, you really can’t get your loop “too clean”, so feel free to do more rinsing and cleaning than I recommended.
Conclusion
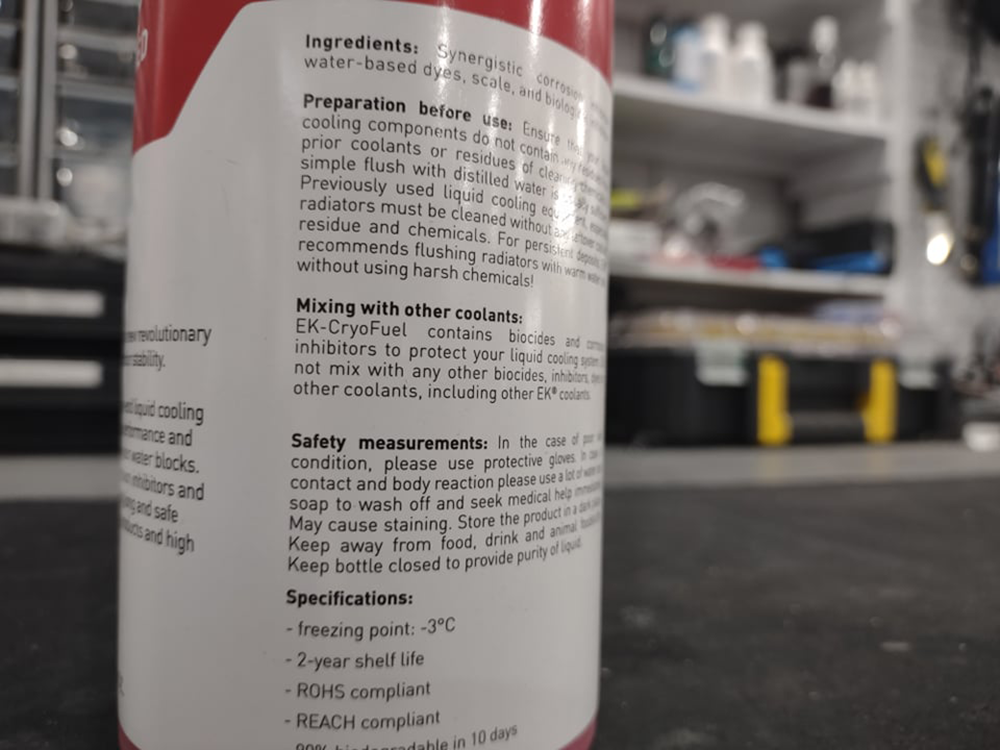
As I mentioned before, be sure to thoroughly read all the labels and warnings on the coolant you plan on using in your loop. First and foremost, follow the instructions the manufacturer specifies. If you’re able to follow the steps laid out in this blog, as well as the instructions given on the bottle you should not have any issues with your coolant for quite some time. Keep in mind that most colored coolants will not last much longer than a year, and it is recommended to change them out even if they do not appear to have issues. Rest assured, if you do ever run into issues with your coolant in your custom loop please send an email rma@performance-pcs.com and we’ll be sure to help you every way we can.